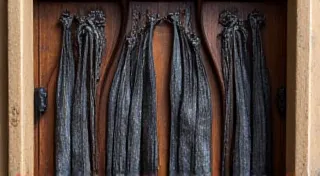
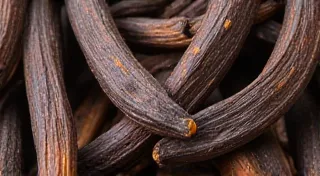
Troubleshooting Common Vanilla Bean Growing Problems
Growing vanilla beans at home is a rewarding, albeit challenging, endeavor. While the allure of homegrown vanilla extract is strong, many home gardeners encounter frustrating problems. This guide will help you diagnose and resolve common issues you might face when cultivating your vanilla bean plants in a home garden environment.
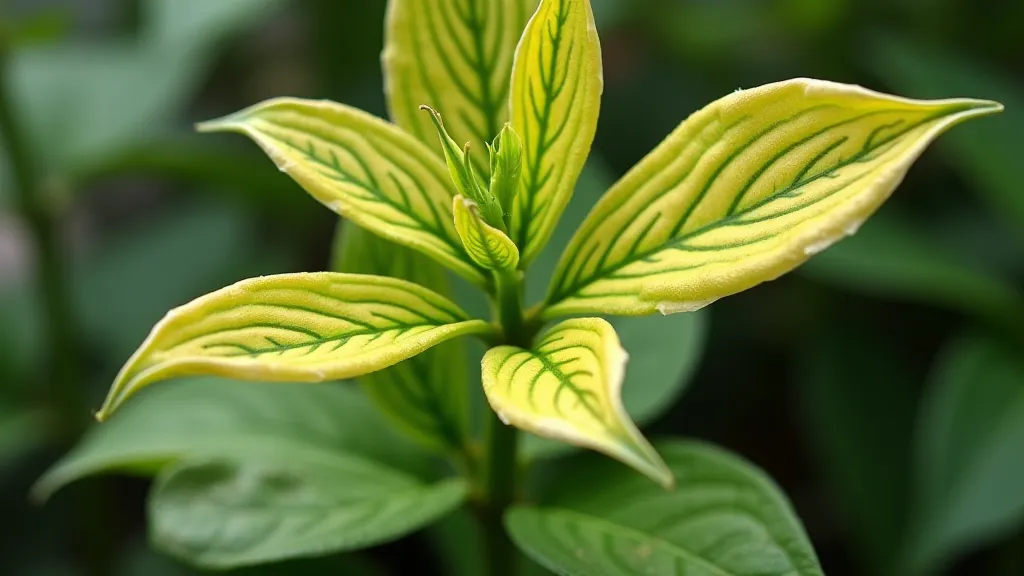
1. Yellowing Leaves: Nutrient Deficiencies or Watering Issues
Yellowing leaves are a frequent sign of trouble. It's often a symptom of either nutrient deficiencies or watering problems. Let’s explore both:
Nutrient Deficiencies:
Vanilla beans, like all tropical plants, require specific nutrients. Yellowing leaves, especially with darker green veins, often indicate a nitrogen deficiency. Iron deficiency (chlorosis) can also cause yellowing between the leaf veins. Magnesium deficiency shows similar symptoms.
Solution: Perform a soil test to identify deficiencies. Amend the soil with appropriate fertilizers. Use a balanced fertilizer specifically formulated for orchids or tropical plants. Chelated iron can help correct iron deficiency. Ensure proper drainage to prevent nutrient leaching.
Watering Issues:
Overwatering can lead to root rot, preventing the plant from absorbing nutrients and causing yellowing. Underwatering can also stress the plant and lead to similar symptoms.
Solution: Adjust your watering schedule based on the plant’s needs and the environmental conditions. Allow the potting mix to dry slightly between waterings. Ensure the pot has adequate drainage holes.
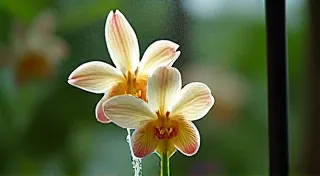
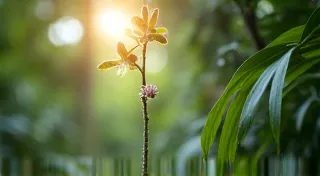
2. Lack of Flowering: Patience and Proper Conditions
One of the biggest frustrations for new vanilla bean growers is the lack of flowering. Vanilla orchids are notoriously slow to bloom, and certain conditions are essential for flowering to occur.
Solution:
- Age: Vanilla plants typically don’t flower until they are 3-5 years old.
- Light: Ensure your plant receives bright, indirect light. Too little light prevents flowering.
- Temperature Fluctuations: Vanilla orchids respond to temperature changes. A slight drop in nighttime temperature (around 10-15°F) can encourage blooming.
- Humidity: Maintain high humidity. Misting frequently or using a humidifier can help.
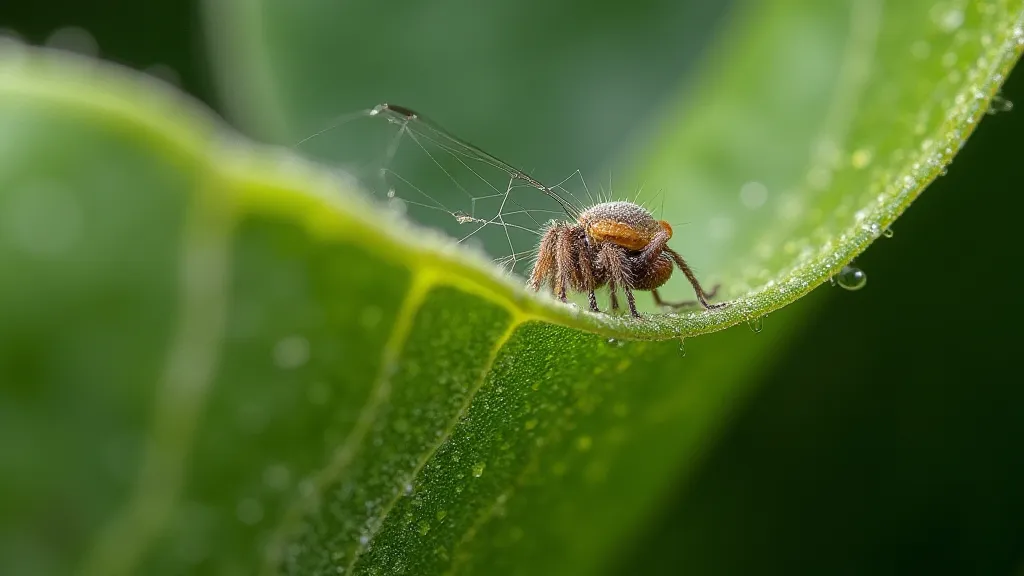
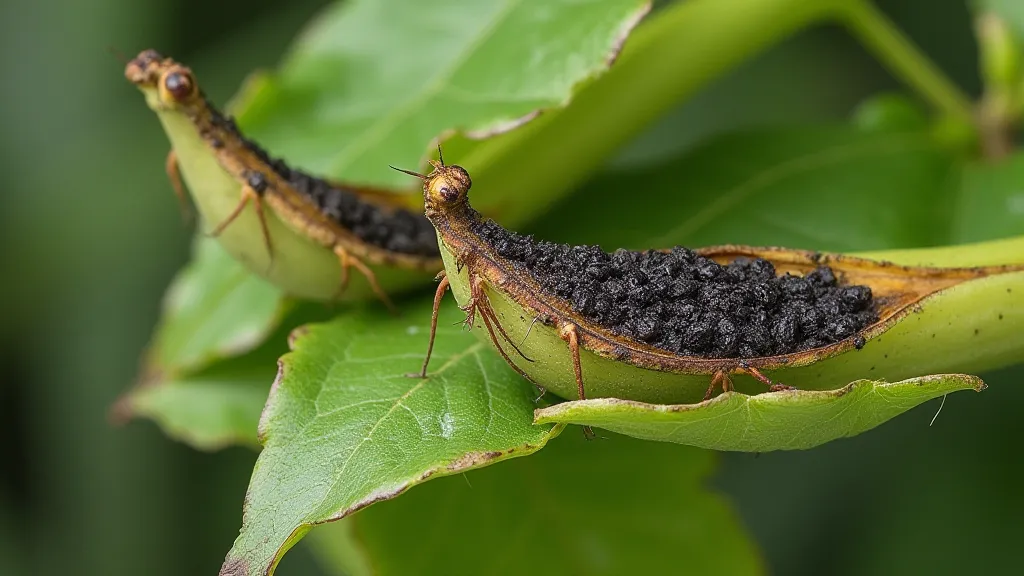
3. Pests: Mealybugs and Spider Mites
Like many tropical plants, vanilla beans are susceptible to pests. Mealybugs and spider mites are common culprits.
Mealybugs:
Mealybugs are small, cottony pests that suck sap from the plant. They are often found in the leaf axils.
Solution: Physically remove mealybugs with a cotton swab dipped in rubbing alcohol. Horticultural oil or insecticidal soap can also be effective.
Spider Mites:
Spider mites are tiny pests that create fine webs on the plant. They thrive in dry conditions.
Solution: Increase humidity. Wash the plant with a strong stream of water. Use miticidal soap or horticultural oil.
4. Poor Root Development: Potting Mix and Drainage
Vanilla beans require a well-draining potting mix to thrive. Poor root development often stems from a heavy, waterlogged potting mix.
Solution: Repot your vanilla bean in a chunky, well-draining orchid mix. A mix of bark, perlite, and peat moss is ideal. Ensure the pot has adequate drainage holes.
5. Rotting Vines: Fungal Infections and Overwatering
Rotting vines are a serious problem, often caused by fungal infections due to overwatering or poor air circulation.
Solution: Improve air circulation around the plant. Avoid wetting the leaves when watering. Remove any affected vines immediately. Treat with a fungicide if the infection is widespread.
Conclusion
Growing vanilla beans at home presents challenges, but with careful observation and timely intervention, you can overcome common problems and enjoy the rewards of homegrown vanilla. Patience and attention to detail are key to success in cultivating these exotic crops.