DIY Vanilla Extract: From Bean to Bottle
The aroma of real vanilla is unmatched. And the taste? Simply divine! While store-bought vanilla extract is readily available, nothing compares to the satisfaction – and flavor – of creating your own, especially when those vanilla bean harvests are homegrown. This guide will walk you through the process, transforming your hard-earned vanilla bean harvest into a rich, flavorful extract you can be proud of.
Understanding Vanilla Bean Quality
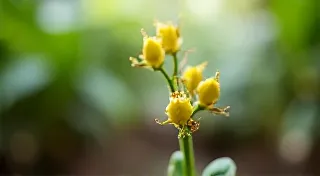
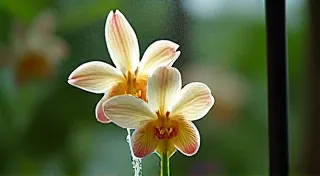
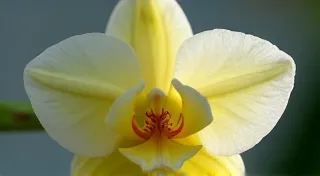
Before we dive into the extraction process, it's crucial to understand the heart of exceptional vanilla extract: the beans themselves. The quality of your extract is directly proportional to the quality of your beans. Factors like variety, growing conditions, and post-harvest handling significantly impact the final flavor profile. That's why, if you’re serious about achieving the best possible extract, learning how to grow your own vanilla beans can be a worthwhile investment. For a comprehensive guide on how to cultivate these fascinating tropical plants, check out our ultimate guide to growing vanilla beans. It's a journey that connects you even closer to the end product.
What You’ll Need
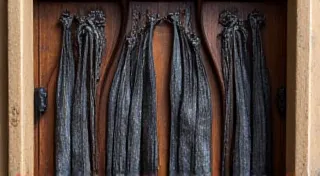
- Your Homegrown Vanilla Beans: The star of the show! The quality of your extract directly depends on the quality of your beans. Aim for plump, fragrant beans. Approximately 6-8 beans per 8oz (237ml) bottle is a good starting point.
- High-Proof Alcohol: This is crucial. Vodka (80 proof or higher - ideally 100 proof/50% ABV) is the most common and readily available option. Bourbon or rum can also be used for a distinct flavor profile. Don't use rubbing alcohol!
- Glass Bottles: Sterilized glass bottles with airtight lids. Amber or dark glass is preferred as it helps protect the extract from light.
- Sharp Knife or Scissors: For splitting the vanilla beans.
- Funnel (optional): For easier filling of the bottles.
Step-by-Step Instructions
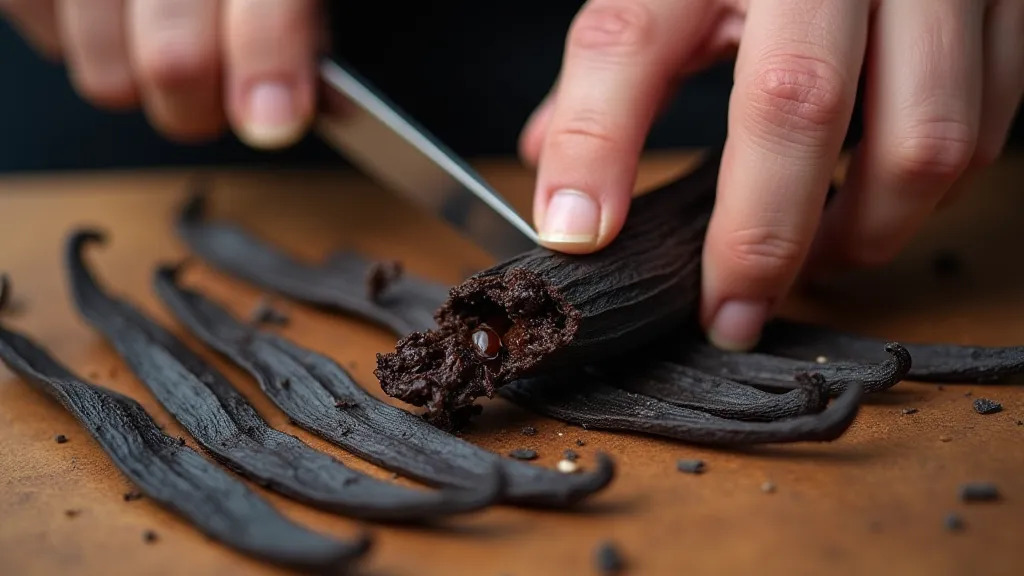
- Prepare the Vanilla Beans: This is the messy but rewarding part. Using a sharp knife or scissors, carefully split the vanilla beans lengthwise. This increases the surface area for extraction. You can also gently scrape the pulp from the beans if desired, but it’s not essential. It's worth noting that post-harvest handling significantly impacts bean quality. Improper care can lead to issues like mold or loss of aroma. If you've encountered challenges in caring for your vanilla bean plants, our guide on troubleshooting common vanilla bean growing problems may provide valuable insights.
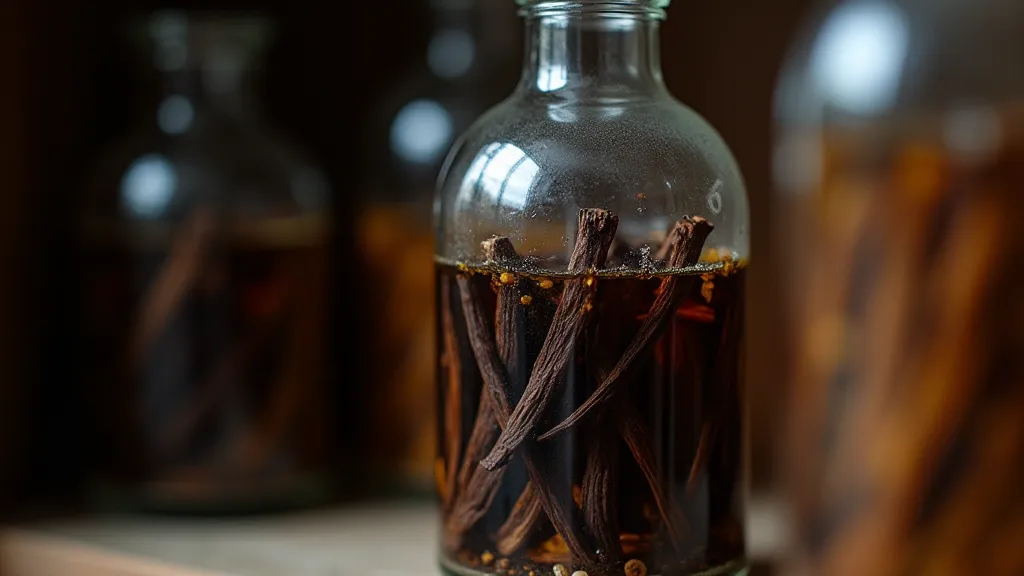
- Combine with Alcohol: Place the split vanilla beans into your sterilized glass bottle. Pour the high-proof alcohol over the beans, ensuring they are completely submerged. Leave a small amount of headspace at the top of the bottle.
- Seal and Store: Seal the bottle tightly and store it in a cool, dark place.
- The Waiting Game: This is where patience is key! The extract needs to steep for at least 2 months, but 6-12 months will produce a richer, more complex flavor. Gently shake the bottle every week or so to help the extraction process. Factors like soil composition, light exposure, and humidity all impact bean development – things that, in turn, affect the final extract. Understanding these nuances and ensuring your plants have the right foundation begins with understanding vanilla bean soil requirements.
- Taste and Adjust (Optional): After 2 months, taste your extract. It will be strong, but will mellow over time. If you prefer a stronger flavor, add more vanilla beans.
Understanding the Science of Extraction
The extraction process is essentially a slow, controlled dissolution. The alcohol acts as a solvent, drawing out the vanillin, along with other flavor compounds and aromatic oils trapped within the bean pods. These compounds, responsible for vanilla’s signature taste and scent, are not water-soluble, hence the need for high-proof alcohol.
Tips and Considerations
- Bean Quality: Again, the better the beans, the better the extract. Your homegrown beans will be at their peak flavor immediately after harvest. Proper harvesting techniques, determining the precise moment of ripeness, are crucial.
- Alcohol Choice: Experiment with different alcohols to discover your preferred flavor. The higher the proof, the quicker the initial extraction. Bourbon, with its caramel and oak notes, imparts a warm, rich character, while rum adds a touch of sweetness. Vodka, being relatively neutral, allows the vanilla flavor to shine through without interference.
- Top Off: As the alcohol evaporates (or you use it!), top off the bottle with more alcohol. This maintains the bean-to-alcohol ratio and ensures consistent extraction.
- Strain (Optional): Some people prefer to strain their extract after the steeping process, removing the vanilla bean pods. This isn’t necessary, as the pods continue to impart flavor over time. Many enthusiasts keep the beans in the bottle for added visual appeal and continued flavor development.
- Storage: Store your finished vanilla extract in a cool, dark place. It will last indefinitely. Protecting it from light is essential to prevent degradation of the delicate aromatic compounds.

The Harvest and Beyond
Successful vanilla extract production is a beautiful extension of the entire vanilla cultivation process. From meticulous soil preparation to the careful harvesting of perfectly ripe beans, each step contributes to the final product's quality. Knowing when to harvest, a critical decision point, requires experience and keen observation. Our guide on harvesting vanilla beans provides a comprehensive overview of this crucial step.
Troubleshooting & Common Issues
Even with the best intentions, unexpected challenges can arise during vanilla bean cultivation and extract making. Mold, pests, or simply inconsistent growing conditions can impact bean quality. Remember, even the most experienced growers encounter setbacks. Understanding these potential pitfalls and knowing how to address them is key to consistently producing exceptional vanilla extract.
Enjoy Your Homemade Vanilla Extract!
Making your own vanilla extract is a rewarding experience that connects you to the process from bean to bottle. Enjoy the delicious aroma and flavor knowing you’re using a truly homemade ingredient in your baking and cooking. The best part? You grew the source!