Pollinating Vanilla Beans: A Guide to Hand Pollination
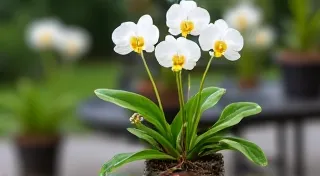
Vanilla orchids (Vanilla planifolia) are renowned for their exquisite aroma and the delectable vanilla beans they produce. However, these tropical plants present a unique challenge for home gardeners: they require hand pollination. Unlike many other plants that rely on insects or wind for pollination, vanilla orchids are essentially dependent on human intervention. This article provides a detailed guide to hand pollination, offering tips for success in your home garden.
Understanding Vanilla Orchid Pollination
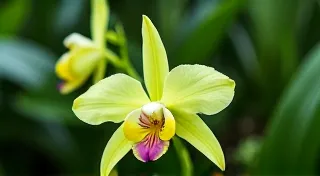
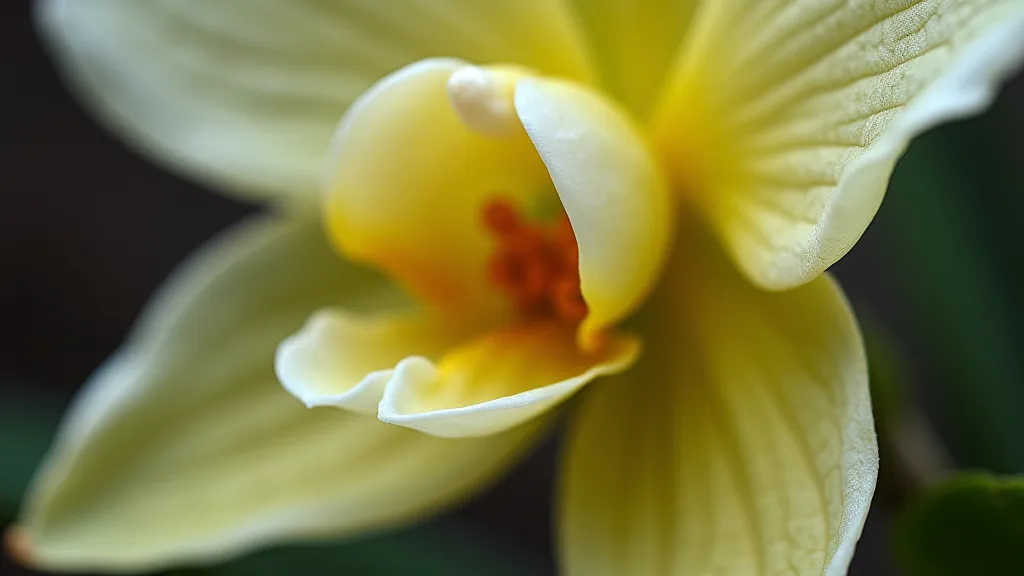
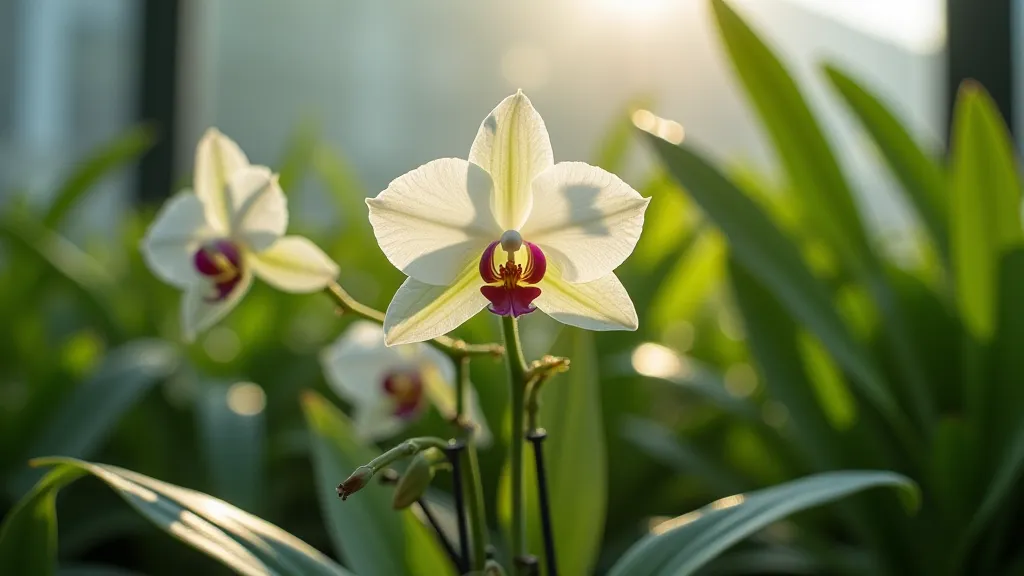
The vanilla orchid’s natural pollinator is the Melipona bee, a species native to Mexico and Central America. Since these bees are unlikely to be present in your home garden, you’re left with the task of mimicking their role. The vanilla flower has a complex structure designed to prevent self-pollination. It has a hood (labellum) that covers the anther and stigma, preventing pollen from reaching the stigma without assistance.
The Hand Pollination Process: Step-by-Step
Here's a breakdown of the hand pollination process. It’s important to be gentle and precise to avoid damaging the delicate flower.
- Timing is Key: Vanilla flowers only remain open for a single day, typically in the morning hours. Pay close attention to your plants and be ready to pollinate as soon as the flowers open.
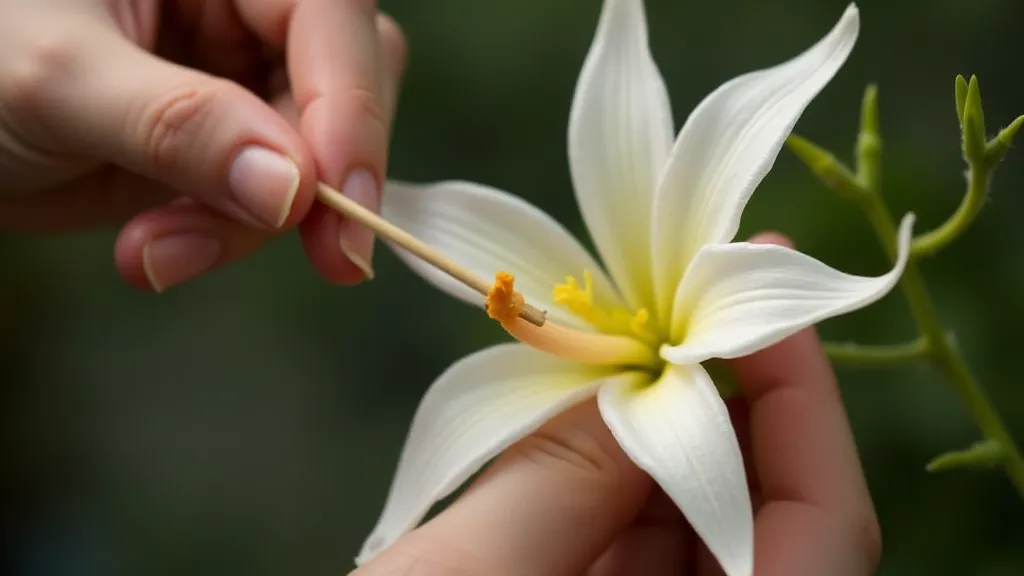
- Gather Your Tools: You’ll need a small, pointed tool. A toothpick, a small wooden skewer, or even a clean needle can work well.
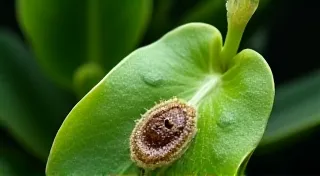
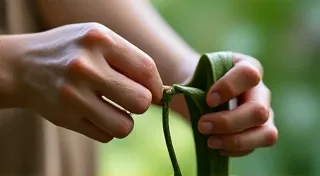
- Lift the Hood: Carefully lift the hood (labellum) of the flower. This reveals the anther and stigma.
- Transfer the Pollen: Using your tool, gently press the anther to collect the pollen. The pollen usually appears as a yellowish or orange dust.
- Apply Pollen to the Stigma: Carefully transfer the pollen you collected onto the stigma. The stigma is the sticky, receptive surface that will receive the pollen.
- Replace the Hood: After pollination, gently replace the hood over the flower.
Tips for Successful Hand Pollination
- Practice Makes Perfect: Don't be discouraged if your first few attempts aren't successful. It takes a bit of practice to get the technique down.
- Observe Your Flowers: Familiarize yourself with the anatomy of the vanilla flower.
- Be Gentle: Handle the flowers with care to avoid damage.
- Pollinate Multiple Flowers: Pollinate as many flowers as possible to increase your chances of fruit set.
- Maintain Proper Growing Conditions: Healthy plants are more likely to produce viable flowers and fruit. Ensure your vanilla orchid receives adequate light, water, and nutrients.
- Patience is Required: It can take several months for vanilla beans to mature after pollination.
Troubleshooting Pollination Problems
If you're not getting fruit set, consider these factors:
- Timing: Are you pollinating the flowers at the right time of day?
- Technique: Are you transferring the pollen correctly to the stigma?
- Plant Health: Is your plant healthy enough to produce fruit?
- Environment: Are you providing the right environmental conditions? Vanilla orchids thrive in warm, humid environments.
Conclusion
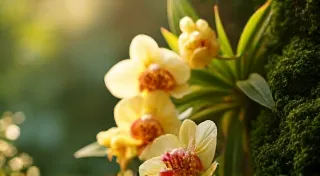
Hand pollinating vanilla beans is a rewarding, albeit labor-intensive, process. While it may seem daunting at first, with practice and attention to detail, you can successfully pollinate your vanilla orchids and enjoy the satisfaction of harvesting your own home-grown vanilla beans. The unique challenge and the delicious rewards make it a truly worthwhile endeavor for any home gardener passionate about growing exotic crops.