Harvesting Vanilla Beans: Knowing When and How
Cultivating vanilla beans at home is a rewarding, albeit patient, endeavor. After years of nurturing your vanilla orchid, the moment arrives – harvest time! Knowing when and how to harvest vanilla beans correctly is crucial to ensuring high-quality beans with exceptional flavor and aroma. This guide will provide you with a step-by-step approach to mastering the art of vanilla bean harvest.
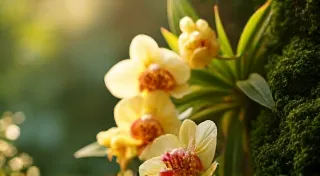
Understanding Vanilla Bean Ripening
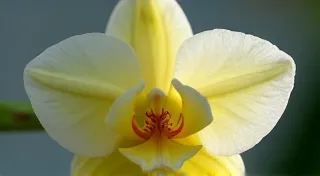
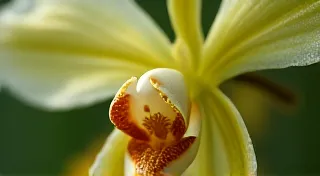
Unlike many fruits, vanilla bean ripening is subtle and relies heavily on visual cues and experience. There's no clear color change that definitively indicates ripeness. The process typically takes 8-10 months after flowering, and environmental factors like temperature and sunlight can influence the timing. New growers often struggle with this, but with practice, you’ll develop a keen eye. Success in vanilla bean cultivation begins long before harvest, starting with everything from pollination to ensuring your plant thrives; for more on the initial stages, consider our guide on pollinating vanilla beans.
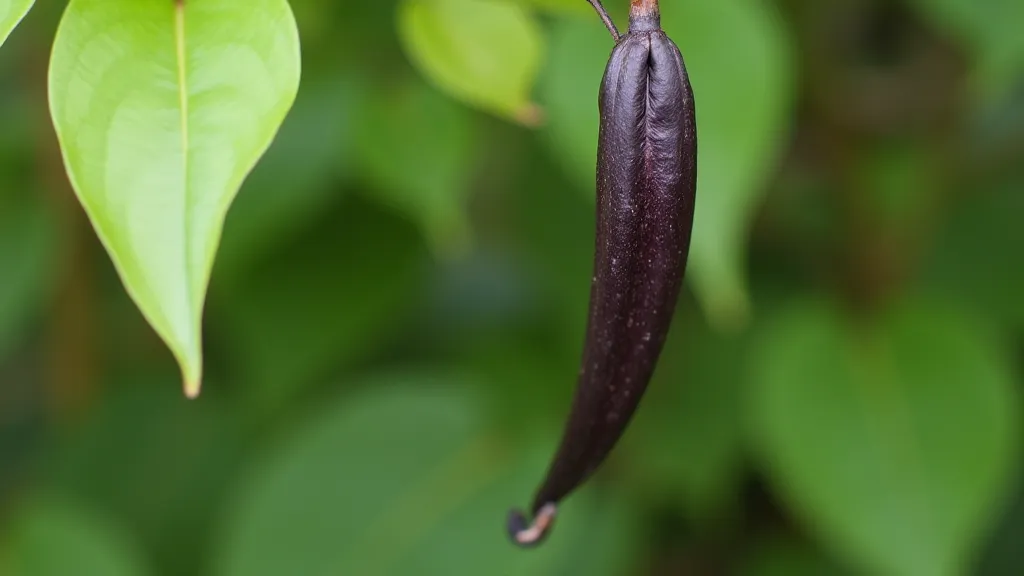
Key Indicators of Ripeness:
- Appearance: Ripe vanilla beans initially appear green but transition to a dark, almost purplish-black hue. This color isn’s uniform; it will appear in patches and deepen over time.
- Texture: Gently squeeze the bean. A ripe bean should have a slight give; it shouldn’t be rock-hard or overly soft and mushy.
- Aroma: This is a crucial indicator! Ripe beans will release a sweet, intoxicating fragrance. It’s often described as a complex blend of chocolate, caramel, and floral notes. This scent will be most apparent when you gently bend or rub the bean.
- Slight Wrinkling: You might notice some subtle wrinkling on the bean’s surface as it ripens.
The Harvesting Process: A Step-by-Step Guide
Harvesting vanilla beans requires a delicate touch. Here's a breakdown of the process:
- Timing is Everything: Harvest in the early morning when the humidity is higher and the beans are at their peak fragrance.
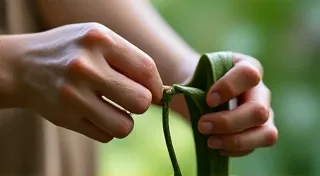
- Gentle Removal: The vanilla bean pods are attached to the plant by a thin stem. Gently twist and pull the pod downwards, close to the base. Avoid yanking, as this can damage the plant.
- Handle with Care: Once harvested, the beans are incredibly delicate and prone to bruising. Handle them carefully to prevent damage.
- Curing Begins Immediately: Harvested beans are not ready for use; they require a curing process (see next section).
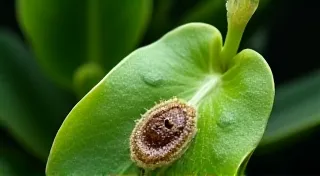
Maintaining a healthy vanilla orchid is paramount to a successful harvest. Factors like pests and diseases can significantly impact bean quality. If you encounter any issues, our guide on dealing with pests and diseases on vanilla bean plants offers practical solutions for keeping your plants thriving.
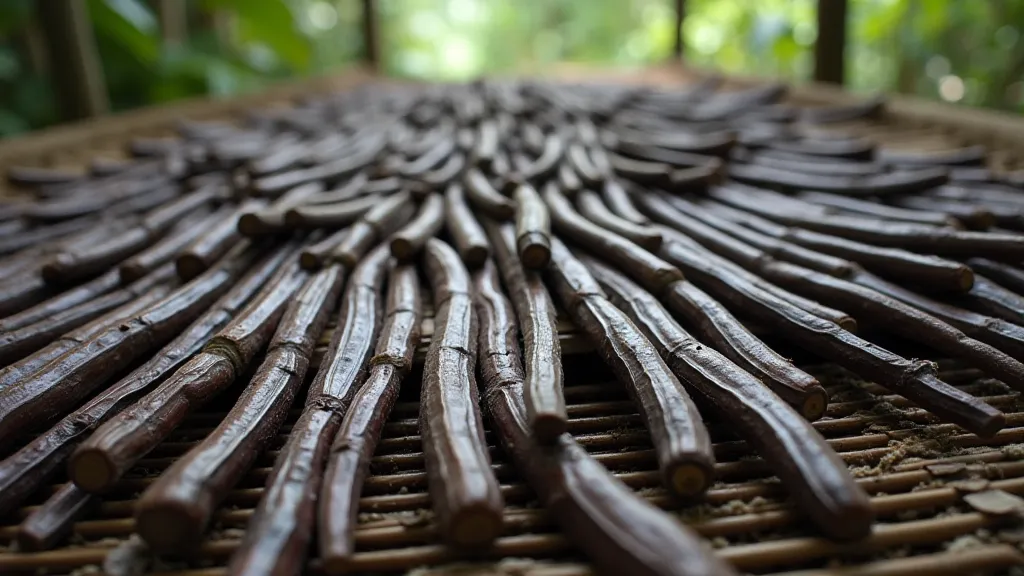
The Crucial Curing Process
The curing process is what transforms the green, pungent vanilla beans into the aromatic treasures we know and love. This is a lengthy and complex process that can take up to 24 months. While a full, detailed explanation of curing is beyond the scope of this article, here are some key points:
- Sweating: Beans are placed in a warm, humid environment (typically 85-90°F and 85-95% humidity) to start the fermentation process.
- Drying: The beans are then slowly dried over several weeks, with regular turning and monitoring.
- Conditioning: The final stage involves storing the beans in a cool, dark place to allow them to fully develop their aroma and flavor.
Troubleshooting and Advanced Techniques
Even with meticulous care, challenges can arise during the curing process. Variations in humidity, temperature, and even the initial quality of the harvested beans can impact the final product. Understanding these nuances and being prepared to adapt your methods is essential for consistent results. The curing process is profoundly influenced by the growing conditions, meaning that those cultivating in containers may find adjustments necessary. Consider exploring our guide on growing vanilla beans in pots for tailored advice if you're utilizing container gardening techniques.
One common issue is uneven fermentation, which can result in inconsistent flavor and aroma profiles. This often stems from variations in bean density or insufficient sweating. Careful attention to detail during the initial stages of curing is paramount. Regularly monitoring the beans, feeling their texture, and smelling their aroma will allow you to identify and address any issues promptly. Also, understanding how the physical properties of the bean influence the final product can elevate your curing practices.
Important Considerations
- Harvesting Frequency: Not all beans on a plant will ripen simultaneously. You may need to harvest in batches over several weeks or even months.
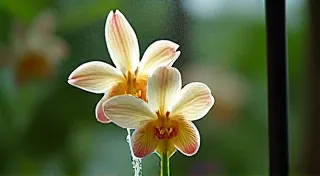
- Plant Health: Healthy plants produce higher-quality beans. Ensure your vanilla orchid receives adequate light, water, and nutrients.
- Record Keeping: Keep track of when you planted your orchid, when it flowered, and when you harvested the beans. This will help you refine your harvesting techniques over time.

Beyond the basic steps outlined above, there’s a rich history and wealth of traditional knowledge surrounding vanilla bean cultivation and curing. Many experienced growers have developed unique techniques passed down through generations. While these methods can be invaluable, it’s essential to approach them with discernment and adapt them to your specific environment and resources.
The success of your vanilla bean harvest isn’t solely determined by technique but also by a deep understanding of the plant's needs and the delicate balance of the environment. Be observant, be patient, and above all, be willing to learn from your experiences. The journey of cultivating vanilla beans is a testament to perseverance and a celebration of nature’s bounty. With diligent care and attention to detail, you can reap the rewards of your efforts and savor the exquisite flavor of home-grown vanilla beans.
Harvesting vanilla beans is a testament to patience and dedication. By understanding the signs of ripeness and following the steps outlined in this guide, you can successfully harvest and cure high-quality vanilla beans right in your own home garden!