Curing Vanilla Beans: The Key to Rich Flavor
Growing vanilla beans is a rewarding, albeit lengthy, process. But the cultivation is only half the battle. The crucial step that transforms green, grassy vanilla beans into the dark, fragrant treasures we associate with vanilla extract and desserts is curing. This detailed guide will walk you through the essential curing techniques to unlock the full potential of your home-grown vanilla beans.
Why Curing is Essential
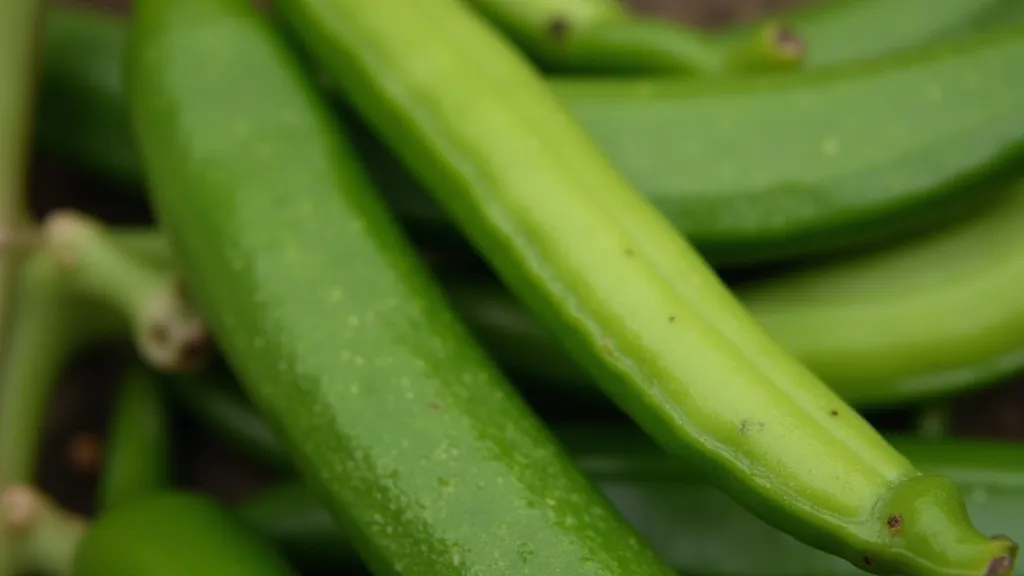
Freshly harvested vanilla beans, often called "green beans," possess a very mild aroma and flavor. They're tough, rubbery, and not particularly appealing. Curing is a series of controlled fermentation and enzymatic reactions that dramatically alter the beans' characteristics. This process develops the complex aroma, rich flavor, and characteristic dark brown color we all love.
During curing, the following transformations occur:
- Fermentation: Enzymes break down the complex carbohydrates in the bean, releasing flavorful compounds.
- Evaporation: Moisture evaporates, concentrating the sugars and flavor compounds.
- Maillard Reaction: A chemical reaction between amino acids and reducing sugars creates hundreds of aromatic compounds responsible for vanilla’s signature scent.
- Color Development: The beans darken from green to a deep, rich brown.
The Curing Process: A Step-by-Step Guide
Curing vanilla beans is a commitment, typically taking 6-12 weeks, or even longer. Here's a breakdown of the process:
1. Harvesting and Initial Cleaning
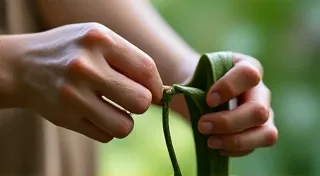
Harvest vanilla beans when they are fully mature, exhibiting a dark brown color and a strong, fruity aroma. Gently remove them from the vine, avoiding damage. Remove any debris or clinging vines.
2. Sweating (Initial Fermentation)
This first stage encourages the initial fermentation. Place the harvested beans in a tightly sealed container (like a plastic bin or a large ziplock bag) lined with paper towels. The purpose is to create a humid environment. The beans will release moisture, which encourages the initial fermentation. Weigh the beans daily for the first week. As they sweat, they will lose around 10-15% of their weight. This helps release moisture.
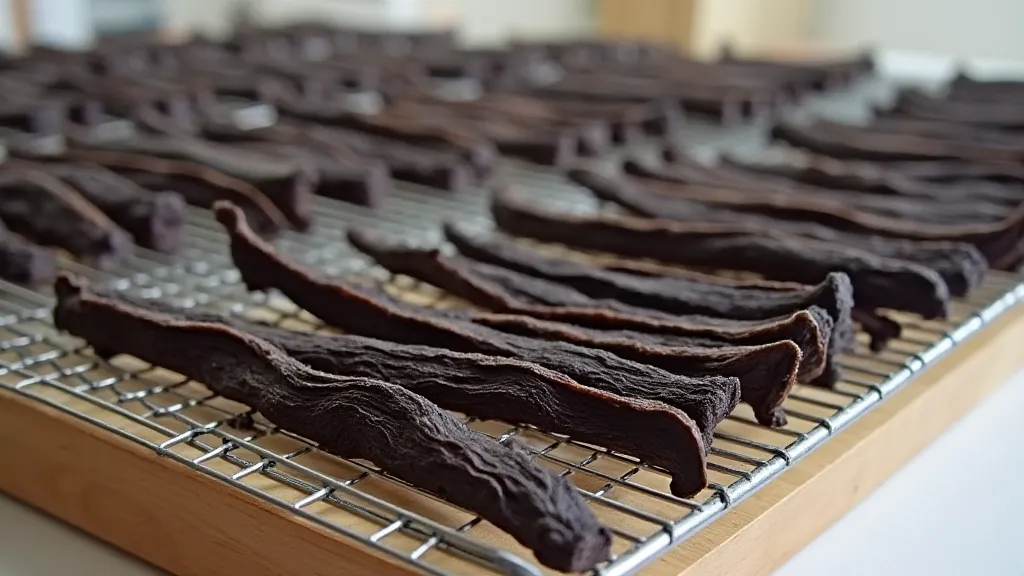
3. Slow Drying (The Main Curing Phase)
Once the beans have sweated, begin the slow drying phase. This is arguably the most important stage. Lay the beans in a single layer on drying racks, screens, or trays lined with cheesecloth. Ensure good air circulation around the beans. The ideal temperature for drying is around 27-32°C (80-90°F) with 70-80% humidity. This can be achieved with a dehumidifier or by carefully monitoring and adjusting ventilation. Turn the beans daily to ensure even drying.
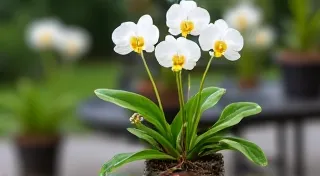
The duration of this phase varies depending on your climate and the humidity. It typically takes 4-8 weeks, but can take longer in less humid conditions. The beans should shrink and darken gradually during this process. They’re ready for the next stage when they’re pliable and feel slightly oily to the touch. Many growers find success by carefully selecting a variety suitable for their environment; if space is limited, consider learning about growing vanilla beans in pots to maximize your yield.
4. Conditioning (Final Maturation)
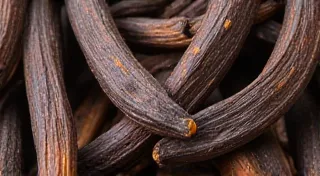
After the slow drying phase, allow the beans to "condition" for a further 2-4 weeks. This involves storing them in a cool, dark place, allowing them to fully mature and develop their aroma. You can occasionally turn them during this time. They should now possess a rich, dark brown color, a pliable texture, and a strong, characteristic vanilla aroma.
Troubleshooting Common Curing Issues
- Beans Drying Too Quickly: If the beans are shrinking too rapidly and losing moisture too quickly, they may become brittle and lose flavor. Increase humidity around the beans.
- Beans Drying Too Slowly: If the beans aren't drying, they may rot. Ensure adequate ventilation and reduce humidity.
- Mold Growth: Mold is a sign of excessive moisture and poor ventilation. Discard affected beans immediately.
- Uneven Coloration: Sometimes, despite best efforts, beans can develop uneven coloration during the drying process. This often indicates inconsistent drying conditions or a variance in bean maturity. Experimenting with different drying techniques or even strategically harvesting at slightly different stages of maturity can help mitigate this.
- Lack of Aroma: A diminished aroma can be disappointing. This frequently points to inadequate fermentation or a premature end to the curing process. Reviewing your 'sweating' phase and ensuring the beans achieve the proper weight loss is crucial. Additionally, remember that even with perfect technique, certain bean varieties simply possess less intense aromas than others.
- Bean Brittleness: Extremely brittle beans are a sign of dehydration. They're often caused by excessive heat or airflow. Lower the temperature and increase the humidity around the beans to help restore some moisture.
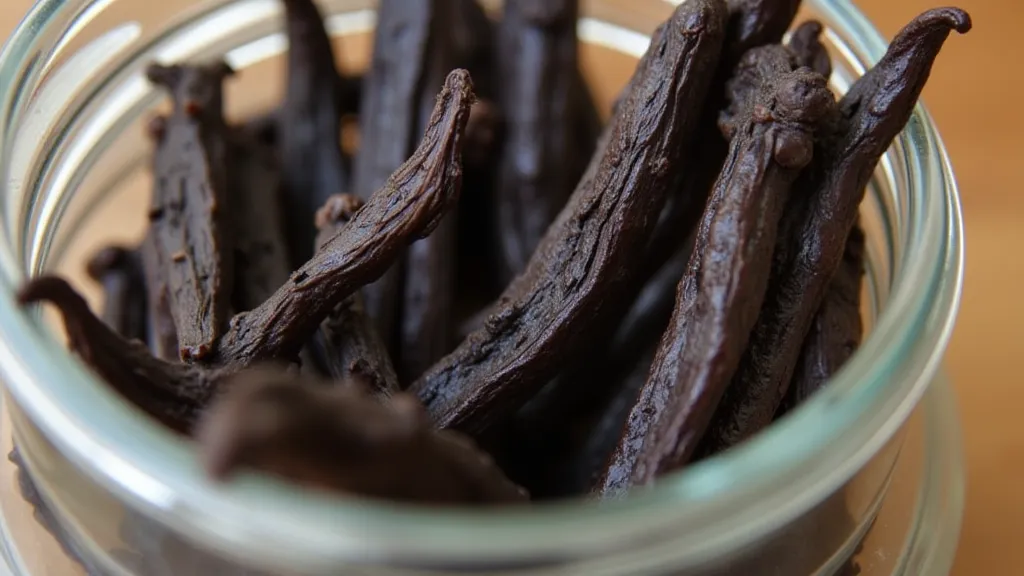
Storing Your Cured Vanilla Beans
Once cured, store your vanilla beans in an airtight container in a cool, dark, and dry place. They will retain their flavor and aroma for several years. Maintaining consistent environmental conditions is vital for long-term preservation. Fluctuations in temperature and humidity can negatively impact the quality and lifespan of your cured beans. In regions with harsh winters, protecting your vanilla bean plants from the cold – as discussed in winterizing your vanilla bean plants – is an essential step in preparing for the curing process.
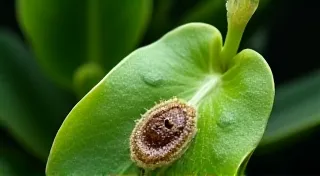
Curing vanilla beans requires patience and attention to detail, but the reward—delicious, fragrant vanilla beans—is well worth the effort. While the process might seem daunting at first, remember that even experienced growers encounter challenges. Careful observation, meticulous record-keeping of your conditions and techniques, and a willingness to learn from your experiences will significantly increase your chances of success. Furthermore, remember to regularly inspect your plants for common pests and diseases; addressing these issues promptly – as outlined in dealing with pests and diseases on vanilla bean plants – will contribute to a healthier crop and higher-quality cured beans.
Further Considerations:
- Bean Variety: Different varieties of vanilla beans have varying curing requirements. Research the specific needs of your chosen variety.
- Humidity Control: Precise humidity control is key to consistent results. Consider investing in a hygrometer to monitor humidity levels accurately.
- Air Circulation: Adequate air circulation prevents mold and ensures even drying. Use fans strategically to improve airflow.
- Pest Prevention: Maintain a clean growing environment and implement preventative measures to minimize pest infestations.
- Documentation: Keep detailed records of your curing process, including dates, temperatures, humidity levels, and observations. This will help you identify what works best for your specific conditions.
With dedication and the right techniques, you can transform your green vanilla beans into a treasured culinary ingredient.