Vanilla Bean Pollination: A Beginner's Guide to Hand-Pollination at Home
Cultivating vanilla beans at home is a rewarding, albeit challenging, endeavor. While the plant itself isn’t overly difficult to care for (requiring warm temperatures, humidity, and bright, indirect light), the key to successful vanilla bean production lies in a single, crucial step: pollination. Unlike many flowering plants that rely on wind, insects, or other natural mechanisms to transfer pollen, vanilla orchids (Vanilla planifolia) are notoriously dependent on human intervention. This guide will walk you through the process of hand-pollination, making it accessible even for beginners. We'll explain why vanilla doesn't self-pollinate, detail the step-by-step process, and offer troubleshooting tips for common challenges.
Why Vanilla Needs Hand-Pollination
The vanilla orchid’s evolutionary history is the reason why hand-pollination is necessary. Native to Mexico and Central America, the plant originally relied on a specific species of bee, the Melipona bee, for pollination. This bee is uniquely suited to access the flower's structure and transfer pollen effectively. However, these bees are not found outside of this region. When vanilla was introduced to other parts of the world, the absence of this specific pollinator meant that vanilla flowers simply wouldn't produce beans without assistance.
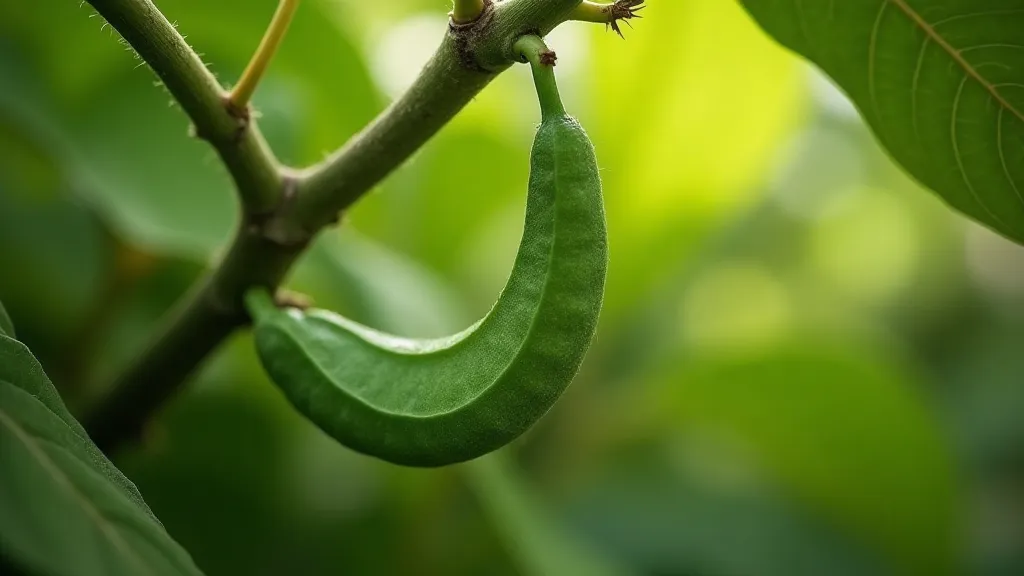
Vanilla flowers are complex structures. They possess a long, narrow spur – a nectar-filled extension of the flower – that is accessible only to creatures with a long proboscis, like the Melipona bee. The pollen is located within this spur. Self-pollination, where pollen from the anther (the male part of the flower) falls directly onto the stigma (the female part), is virtually impossible due to the flower’s design.
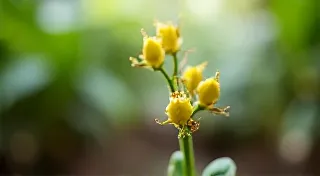
Understanding the Vanilla Flower’s Anatomy
Before we dive into the pollination process, understanding the flower’s anatomy is helpful. Here’s a brief overview:
- Anther: Contains the pollen.
- Stigma: The receptive surface where pollen needs to land.
- Spur: The long, nectar-filled tube that the Melipona bee accesses.
- Labellum: The modified petal, often brightly colored to attract pollinators.
Knowing these parts will allow you to more accurately understand the hand-pollination process.
The Step-by-Step Hand-Pollination Process
Hand-pollination can seem daunting, but with practice, it becomes relatively straightforward. Here’s a breakdown of the process:
- Timing is Crucial: Vanilla flowers only remain open for a very short period, typically 24-48 hours. The best time to pollinate is during the middle of the day, when the flower is fully open.
- Gather Your Tools: You're essentially using a small, pointed tool to mimic the Melipona bee. The best tools include:
- A toothpick
- A thin skewer
- A small, fine-tipped paintbrush
- Locate the Pollen: Gently bend the flower backward. You’re looking for the anther – it will likely be covered in a yellowish pollen.
- Transfer the Pollen: This is the most delicate step. Using your chosen tool, gently collect pollen from the anther. Carefully insert the tool into the spur and transfer the pollen to the stigma, which is located at the bottom of the spur.
- Observe: After pollination, the flower may appear slightly swollen. This is a good sign!
- Repeat for Each Flower: Only pollinate flowers that are fully open.
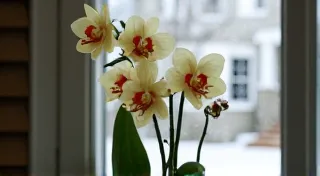
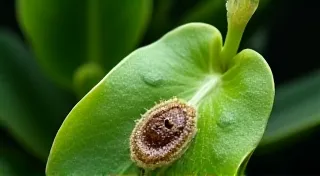
Image 1: 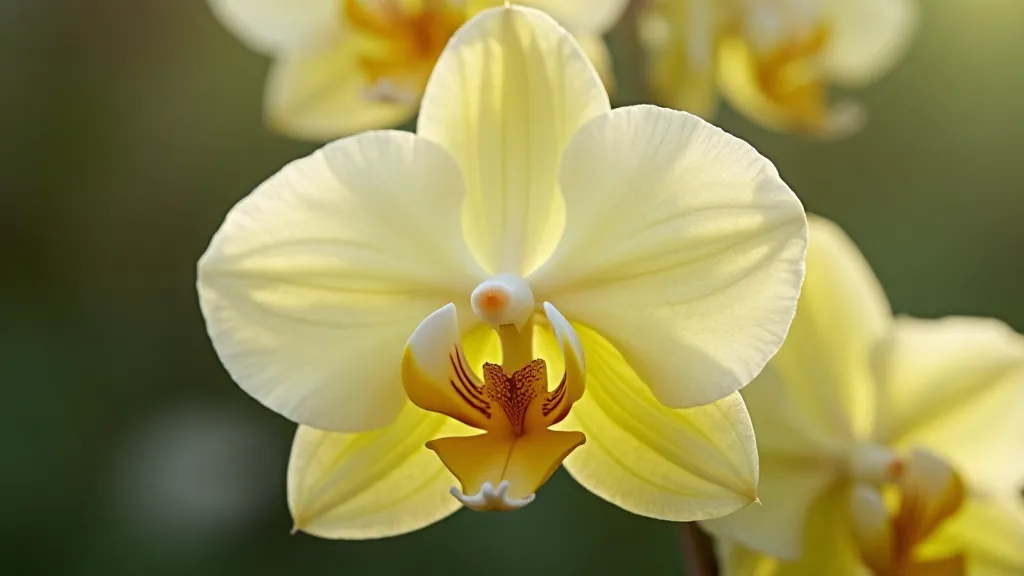
Troubleshooting Common Pollination Challenges
Even with careful attention, pollination challenges can arise. Here are some common issues and how to address them:
- No Pollen Visible: The anther may not be fully ripe. Wait and check again the next day.
- Difficulty Reaching the Stigma: The spur can be deep and narrow. Use a very fine-tipped tool and be patient. Don't force the tool, as you could damage the flower.
- Flowers Dropping After Pollination: This can be due to several factors, including over-pollination (pollinating too many flowers at once), poor pollination technique, or environmental stress (temperature fluctuations, insufficient humidity).
- No Bean Development: If you're pollinating regularly and using proper technique, but still not seeing bean development, consider the overall health of your plant. Ensure it's receiving adequate light, water, and nutrients.
Factors Influencing Success
Beyond the hand-pollination technique, several factors can influence the success of your vanilla bean production:
- Plant Health: A healthy, vigorous plant is more likely to produce flowers and develop beans.
- Environmental Conditions: Vanilla plants thrive in warm, humid environments with bright, indirect light.
- Fertilization: Regular fertilization with a balanced fertilizer is essential.
- Pest and Disease Control: Monitor your plants regularly for pests and diseases and address any issues promptly.
Practice Makes Perfect
Don't be discouraged if your first few attempts at hand-pollination are unsuccessful. It takes practice to master the technique and understand the nuances of your specific plants. Observe your plants carefully, learn from your mistakes, and celebrate your successes. With persistence and attention to detail, you can enjoy the incredible reward of harvesting your own home-grown vanilla beans!
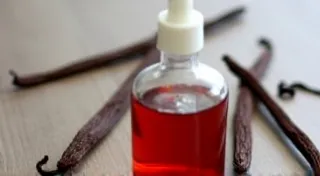
Image 2: 
Beyond the Basics: Advanced Techniques
Once you're comfortable with the basic hand-pollination technique, you can explore some advanced strategies:
- Record Keeping: Keep a record of which flowers you pollinate and the dates. This will help you track your success rate and identify patterns.
- Controlled Environment:** If possible, consider creating a more controlled environment, such as a greenhouse, to optimize temperature, humidity, and light.
- Experimentation:** Try different tools and techniques to find what works best for you and your plants.
Growing vanilla beans at home is a journey of discovery. Each season presents new challenges and rewards. By understanding the intricacies of hand-pollination and providing your plants with the care they need, you can experience the satisfaction of cultivating this precious and aromatic crop.
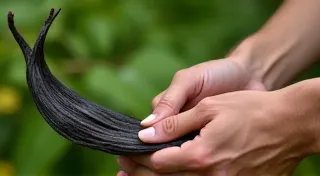
Image 3: