Vanilla Bean Propagation: Taking Cuttings and Starting New Plants
Want to expand your vanilla bean collection or share the joy of growing these precious pods with friends? Propagating vanilla bean plants from cuttings is a rewarding, though slightly involved, process. While not as straightforward as propagating some other houseplants, with patience and the right techniques, you can successfully root vanilla bean cuttings and create new plants.
Understanding Vanilla Bean Propagation
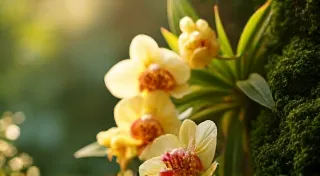
Vanilla (Vanilla planifolia) is an orchid, and like most orchids, propagation from seed is incredibly slow. Vegetative propagation, specifically taking cuttings, offers a faster route to new plants. It allows you to create clones of your existing vanilla bean plant, ensuring they share the same characteristics. This method requires a little more care and attention than starting from seed, but the payoff is worthwhile.
Selecting the Right Cuttings
Not just any stem will do. Here’s what to look for when selecting cuttings from your mother plant:
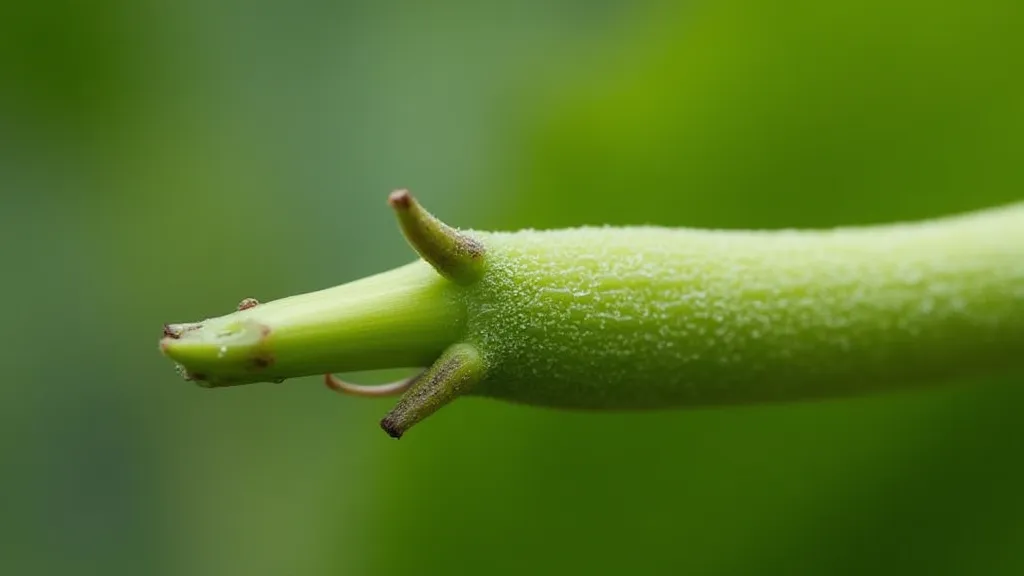
- Node Selection: The cutting must contain at least one node – the point on the stem where a leaf or root will develop.
- Stem Health: Choose healthy, disease-free stems. Avoid stems with blemishes, discoloration, or signs of pests.
- Size: Cuttings typically range from 6 to 12 inches long.
- Leafs: Ideally select the stem that has a few leafs - about 3-4
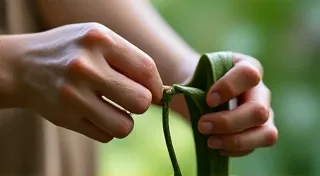
Taking the Cutting
Cleanliness is key to preventing infection. Use a sterile knife or pruning shears.
- Sterilize Tools: Clean your cutting tools with rubbing alcohol or a bleach solution (1 part bleach to 9 parts water).
- Make the Cut: Cut the stem just below a node.
- Leaf Removal: Remove the bottom leaves from the cutting, leaving only a few leaves at the top. This helps reduce water loss and encourages root development.
Rooting the Cutting – Two Methods
There are two primary methods for rooting vanilla bean cuttings: water propagation and sphagnum moss.
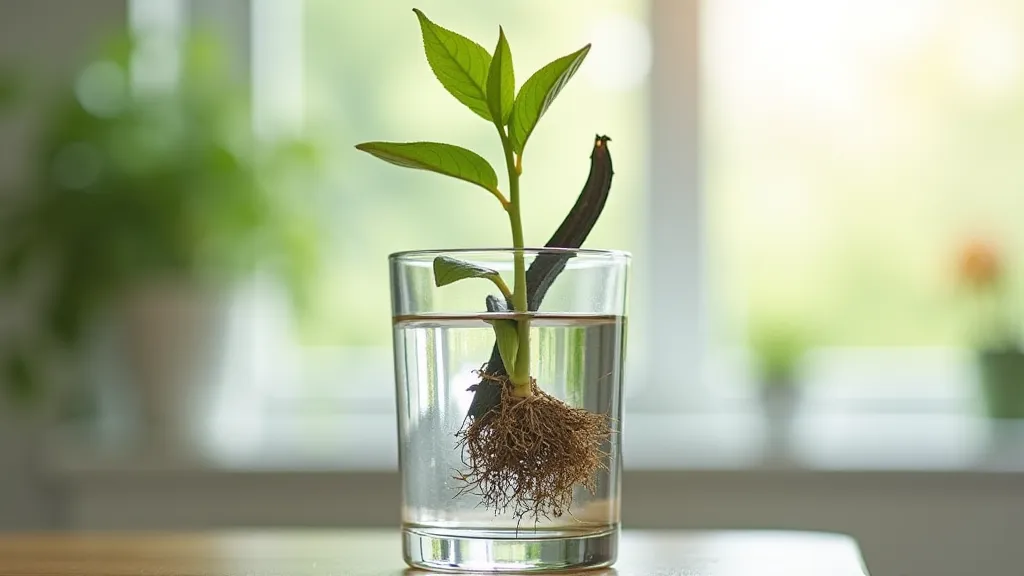
Water Propagation
- Place in Water: Put the cutting in a clear glass or jar filled with fresh, room-temperature water.
- Change Water Regularly: Change the water every 2-3 days to prevent algae growth.
- Bright, Indirect Light: Place the jar in a location with bright, indirect light.
- Root Development: Roots should begin to emerge within 4-8 weeks.
Once the roots are 2-3 inches long, they are ready to be potted.
Sphagnum Moss Method
- Moisten Moss: Thoroughly moisten sphagnum moss. It should be damp, but not soggy.
- Wrap Cutting: Wrap the bottom portion of the cutting in the moistened sphagnum moss.
- Humidity Dome: Place the cutting in a clear plastic bag or humidity dome to maintain high humidity.
- Bright, Indirect Light: Position the humidity dome in a location with bright, indirect light.
- Moisture Check: Check the moss regularly and remoisten as needed.
Roots should develop within 6-12 weeks. Gently unwrap the cutting to check for root development. Once the roots are well-developed, the cutting can be potted.
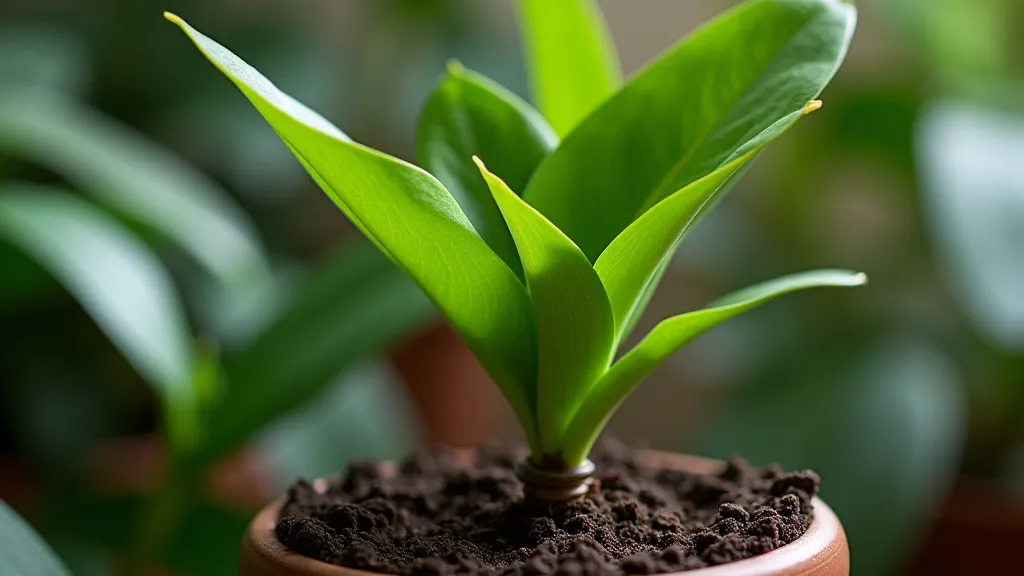
Potting the Rooted Cutting
Once your vanilla bean cutting has developed a robust root system, it’s time to pot it.
- Potting Mix: Use a well-draining orchid mix. A mix of orchid bark, perlite, and peat moss works well.
- Pot Size: Choose a pot that’s only slightly larger than the root ball.
- Planting: Carefully plant the cutting in the pot, ensuring the base of the stem is covered with potting mix.
- Watering: Water thoroughly after potting, then allow the potting mix to dry slightly between waterings.
- Humidity: Maintain high humidity around the newly potted plant.
Care After Propagation
Newly propagated vanilla bean plants are vulnerable and require special care.
- Shade: Provide shade from direct sunlight.
- Humidity: Maintain high humidity.
- Watering: Water regularly, but avoid overwatering.
- Fertilizing: Begin fertilizing with a balanced orchid fertilizer after a few weeks.
With patience and care, your propagated vanilla bean plants will thrive and eventually reward you with those precious pods!