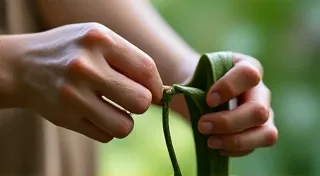
Vanilla Bean Watering & Humidity: Essential for Success
Growing vanilla beans at home can be incredibly rewarding, offering a taste of the tropics right in your garden. However, successful vanilla bean cultivation demands careful attention to detail, particularly when it comes to watering and maintaining adequate humidity. These two factors are paramount for the health and productivity of your vanilla orchid. This guide will delve into the specifics of vanilla bean watering and humidity needs, providing practical tips for achieving optimal conditions in a home environment. Before we dive into the specifics, understanding the basics of growing vanilla beans, from choosing the right container to providing adequate light, can set you up for success. Consider exploring our guide to growing vanilla beans in pots for more foundational information.
Understanding Vanilla Bean's Water Needs
Vanilla beans (Vanilla planifolia) are epiphytes, meaning they naturally grow on other plants (typically trees) and derive moisture from the air and rainfall. They aren't deeply rooted and prefer a consistent level of moisture, but they are also prone to root rot if the soil stays consistently waterlogged. The key is finding a balance. Understanding the soil composition is vital too; a well-draining mix is crucial to prevent issues. More on that can be found in our article on growing vanilla beans in pots.
Here’s a breakdown of watering considerations:
- Watering Frequency: This will vary dramatically depending on your climate, the type of pot you’re using, and the time of year. Generally, aim to water thoroughly when the top inch of the potting mix feels dry to the touch. During the warmer growing months (spring and summer), this might be every 5-7 days. In cooler months, reduce watering frequency to every 2-3 weeks. Consistency is key, so create a schedule and stick to it, making adjustments as needed based on observation.
- Water Quality: Vanilla orchids prefer rainwater or distilled water. Tap water often contains chlorine and other minerals that can build up in the potting mix and harm the plant. If tap water is your only option, let it sit out for 24 hours to allow chlorine to evaporate. The minerals in tap water can also affect the overall health and potentially the flavor of the vanilla beans, so using quality water is a worthwhile investment.
- Watering Technique: Water the potting mix thoroughly, ensuring the water drains freely from the drainage holes. Avoid wetting the leaves, as this can encourage fungal diseases. Allowing the foliage to remain dry minimizes the risk of issues like black spot, a common problem in humid environments.
- Drought Tolerance: While vanilla beans prefer consistent moisture, they can tolerate short periods of drought. However, prolonged dryness will stunt growth and reduce bean production. Recognizing the signs of underwatering, such as wilting or leaf drooping, will allow you to adjust your watering schedule accordingly.
- Understanding the Potting Mix: The type of potting mix significantly impacts water retention and drainage. A chunky mix with bark and perlite is ideal. Remember to repot periodically to refresh the medium and ensure healthy root growth.
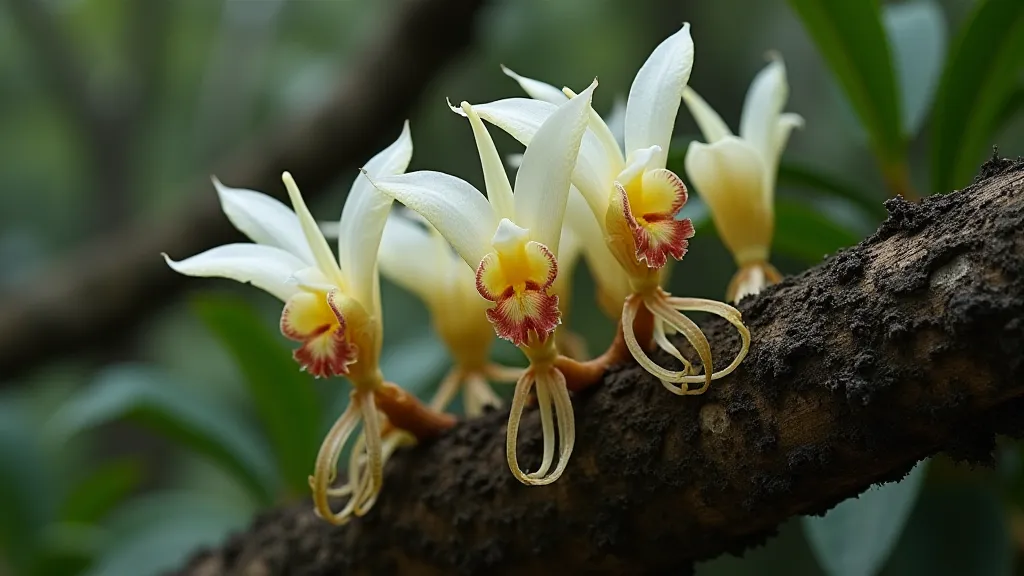
The Critical Role of Humidity
Vanilla orchids thrive in humid environments. Native to tropical regions, they're accustomed to high levels of atmospheric moisture. Lower humidity can lead to leaf problems, stunted growth, and reduced flowering and bean production. Maintaining adequate humidity isn't just about the water content of the air; it’s also about creating a microclimate that mimics their natural environment. Addressing humidity problems early on can prevent more serious issues from developing.
Here are some ways to increase humidity around your vanilla orchid:
- Grouping Plants: Grouping your vanilla orchid with other plants creates a microclimate with higher humidity. The collective transpiration from various plants contributes to a more humid atmosphere. Choose plants with similar water needs for best results.
- Humidifier: Using a humidifier is the most effective way to control humidity levels, especially in dry climates. Aim for a humidity level of 60-80%. Consider a hygrometer to accurately measure humidity.
- Pebble Tray: Place the pot on a tray filled with pebbles and water. As the water evaporates, it will increase the humidity around the plant. Ensure the bottom of the pot isn't sitting directly in the water to avoid root rot. Adding a small fan to gently circulate the air can further enhance evaporation and humidity.
- Misting: While misting can provide a temporary humidity boost, it's not as effective as other methods and can increase the risk of fungal diseases if airflow is poor. Misting is best avoided, especially when combined with other potential humidity sources.
- Greenhouse/Terrarium: Growing your vanilla orchid in a greenhouse or terrarium provides a naturally humid environment. This is the most effective solution for consistent humidity, but requires more investment and space.
- Ventilation is Key: Even in humid environments, proper ventilation is important to prevent fungal diseases. A gentle breeze can help to circulate air and dry out the leaves.
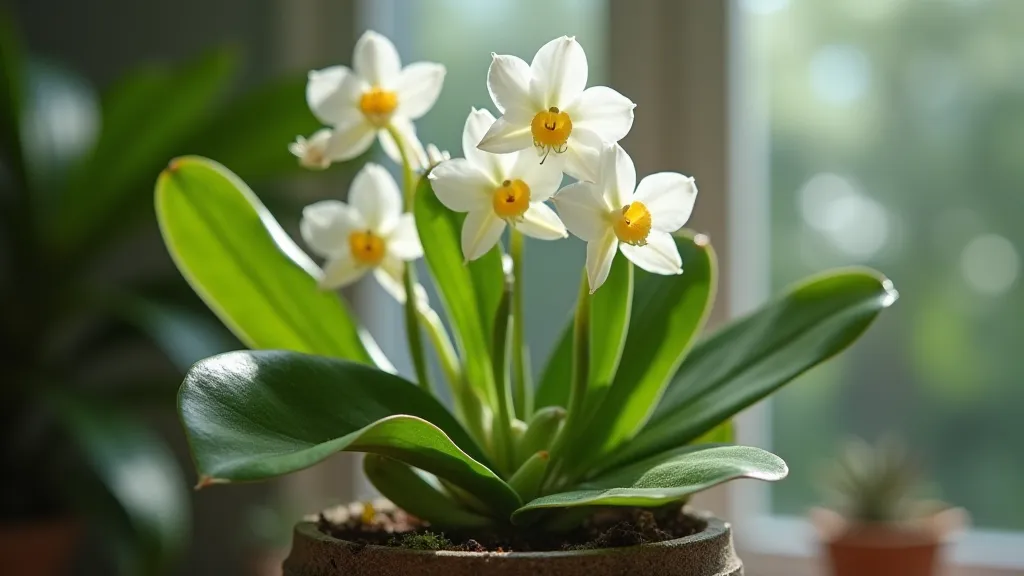
Troubleshooting Watering and Humidity Issues
Addressing potential problems early on is crucial for healthy vanilla bean growth. Here's a quick guide:
- Yellowing Leaves: Can indicate overwatering, underwatering, or low humidity. Adjust watering frequency and increase humidity levels. Nutrient deficiencies can also play a role, so consider a balanced orchid fertilizer.
- Brown Leaf Tips: Often a sign of low humidity or inconsistent watering. This is a common issue, and can be resolved with increased humidity and a more consistent watering schedule.
- Root Rot: Indicates overwatering and poor drainage. Repot the plant into fresh, well-draining potting mix and reduce watering frequency. This is often irreversible if the rot is extensive. Inspect the roots carefully when repotting to remove any affected tissue.
- Lack of Flowering/Bean Production: Can be caused by various factors, including insufficient light, low humidity, and nutrient deficiencies. Review all aspects of your vanilla bean care. Consider hand-pollination if natural pollinators are scarce - our guide to pollinating vanilla beans provides detailed instructions.
- Pest Infestations: Keep an eye out for common orchid pests like mealybugs and scale. Regularly inspect the plant and treat infestations promptly.
- Leaf Spot Diseases: High humidity combined with poor airflow can lead to leaf spot diseases. Improve ventilation and consider a fungicide if necessary.
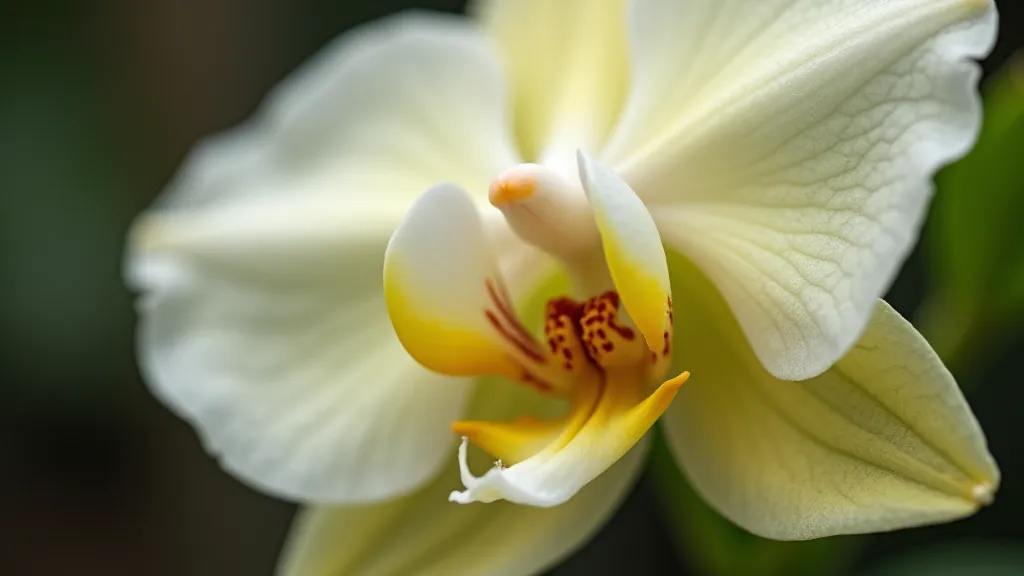
Vanilla Bean Propagation and Beyond
Once your vanilla bean plant is thriving, you might consider expanding your collection. Learning about propagation techniques can allow you to create new plants from cuttings, increasing your yield and sharing the joy of growing vanilla beans with others. For those interested in furthering their vanilla bean journey, explore our detailed guide on vanilla bean propagation. It covers everything from taking cuttings to starting new plants from seed. This is a great way to expand your vanilla bean garden and learn more about the plant's life cycle.
Conclusion
Maintaining proper watering and humidity levels is fundamental to successfully growing vanilla beans at home. By understanding your plant’s needs and adjusting your care accordingly, you can create the ideal environment for healthy growth and a bountiful harvest of delicious vanilla beans. With a little effort and attention to detail, you can enjoy the unique satisfaction of cultivating your own exotic crop. Troubleshooting common issues and learning how to propagate your plants will help you sustain your vanilla bean garden for years to come. Remember, patience and observation are your greatest assets in this rewarding endeavor.

